The Unicorn Academy Guide to Amateur Photography (Five): Shutter Speed and Shutter Priority
Check the mode dial on your camera, and turn it to “S”...this is Shutter Priority mode. Like Aperture Priority, you control one aspect of exposure, and the camera chooses the other based on the setting--along with the available light in the scene and the ISO you’ve set the camera at. With Shutter Priority, you select the shutter you wish to use and the camera will choose the Aperture for you. A typical reason this mode is chosen is that when you are photographing something that is moving fast, you may not have time to constantly adjust manual settings as the subject moves. Situations where you might choose Shutter Priority are sporting events or your dog running around at the dog park.
Shutter speeds are measured in fractions of a second.
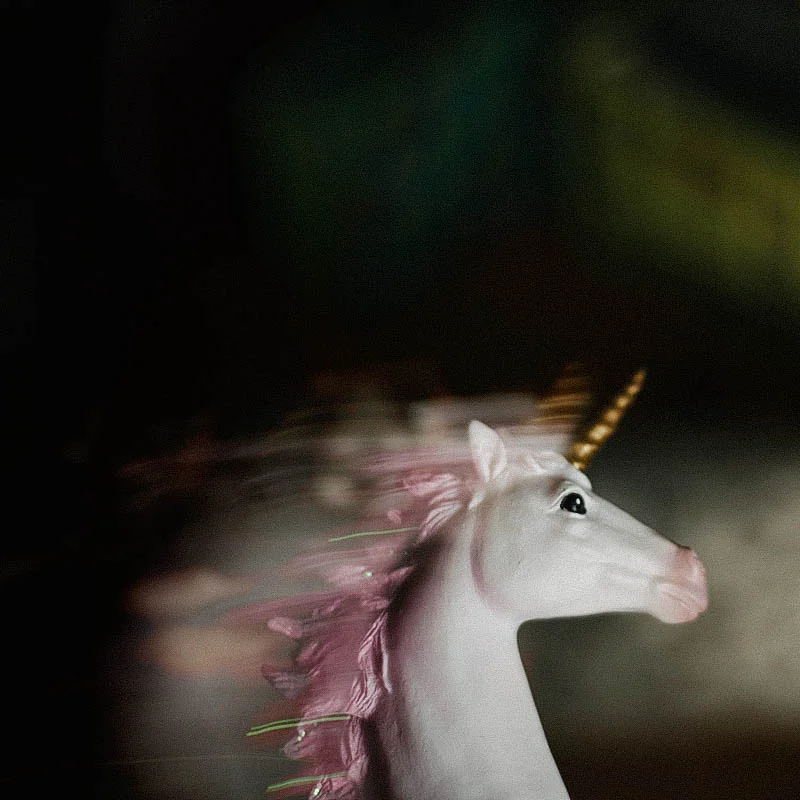
I mentioned that I prefer to shoot in manual whenever possible, but Aperture Priority is my second choice. I typically always use Shutter Priority when photographing the animals--especially inside my house where it tends to be low lighting. As a rule of thumb, I never go below 1/60th when my camera isn’t on a tripod because I know there will be hand-held blur, and ideally I’d like to be higher than that to ensure my subjects are in focus. No one should trust that their hands are steady enough to compensate. I’ll set my Shutter to 1/125 (it’s a sweet spot for me) when photographing Bullett and Eowyn, since they cannot keep still unless they are napping.


The thing about photographing animals is you have to be quick. As you can see....
There are many creative ways to shoot with shutter speed, but if you want to freeze a subject in motion and have it be as in-focus as possible to avoid motion blur, then follow the guideline to shoot above 1/500th of a second in order to keep up with the moving subject. You can’t really control your subject’s speed, but you can control the speed of your shutter. The faster the better, but just remember that the higher your shutter speed is set, the lower your aperture will have to be, since a faster shutter doesn’t offer a chance to let as much light in. With Shutter Priority, you don’t have to worry about it as much, because the camera will make those decisions for you. When you are shooting a subject that is moving quickly, take as many shots as possible, hitting the shutter release constantly to have as many options as possible.
As I mentioned in the last post about Aperture Priority, you are letting your camera control one aspect, which means that shooting may not result in perfect exposures much of the time. Once you begin shooting manually, if there is an opportunity to photograph a moving subject multiple times, you may find that you’ll set up good manual settings and continue on with that. We will get to that next time.
Once you’ve practiced with both Aperture and Shutter Priority, you can move on to manual whenever you are ready and feel comfortable. Perhaps you want an image of your dog in action but with a shallow depth of field? Manual will let you control that, since Shutter Priority will choose an aperture for you and the depth of field may not turn out as you would like. Manual mode will mean you make both the decisions of Aperture and Shutter Speed--and this is where the fun really begins.
Sincerely,
The Girl in the Unicorn Pajamas
PS: Don’t forget to tag and share your photos with #UNICORNPHOTOACADEMY as you learn!