Unicorn Academy Guide to Amateur Photography (Six): Welcome to Manual Mode

Hopefully by now you’ve gotten the hang of shooting in Aperture Priority and Shutter Priority modes, and with that...the time has come…
Turn that dial to “M” and take a deep breath.
I’m not sure if shooting manually seems scary to you, but let me tell you right now how AWESOME manual is and how exhilarating it will eventually feel to be in full control of the pictures you’re taking.
The camera is no longer making any decisions for you. You’re setting your ISO, white balance, shutter speed, and aperture all on your own. This is where we shall introduce the handy-dandy light meter: your new best friend on your photography excursions. You will find this chart inside the viewfinder of your camera, or some DSLR cameras even have it on their LCD display when they are in a shooting mode. It looks like this:
If the bars on the meter go from the middle “0” towards the negative numbers, this means the image is being overexposed. If the bars go from the middle towards the positive numbers, then the image is being underexposed. Ideally, you want to set your shutter speed and your aperture to be as close to center as possible to correctly expose the image. Now, there will be cases where you might prefer an image to be slightly over or underexposed, but as you’re learning it is best to practice for a well-balanced exposure and to not risk many artful decisions--this will help you avoid bad habits that might affect your work later on.
Did you know there’s a DSLR simulator online? You bet there is.
Since you have worked with both Aperture and Shutter priority separately, you should know by now that the wider your aperture is open, the faster your shutter speed should be and vice versa. Capturing the proper exposure on manual is a balancing act between light and speed. When you shoot in Manual, the whole idea is to adjust your aperture and shutter speed as you see the bars on the ticker move back and forth, and get it back to center.
Remember to always adjust your ISO when shooting. The higher your ISO, the more sensitive your camera is to light. Ideally, you’d like for your ISO to be as low as possible to avoid grain.
For the sake of review, let’s talk about the “elements of exposure” or the “exposure triangle” once more and how that all works. The three elements are ISO, aperture, and shutter speed. Determine what kind of light you are shooting in, and then set your ISO (and white balance, while you’re at it). Next, analyze your scene and decide what you want to be in focus, and think about if the subject is moving a lot. Set your aperture, follow the light meter, set your shutter speed. The next step is shooting, so click that shutter, look at your playback LCD and see how you’ve done.
Really, from here, the thing to do is to get out there and shoot. You’ll eventually become very used to shooting in manual, and figure out your preferences and shooting style as a photographer.
Below are a few tips I’ve found to be helpful when shooting Manual (and in general).
Lean on golden hour! An hour or two before sunrise or an hour or two before is what many call “golden hour”...the sun is lower in the sky creating soft, warm, glowing lighting that is flattering for any shot.
Little did you know (probably) that cloudy, overcast days are the best days to go shooting. The clouds act like a giant softbox which diffuses all the harsh sunlight and eliminates hard shadows. When the sky is like this, you can shoot very balanced, well-exposed portraits all day long. Also check out the “cloudy” white balance setting, I think you’ll dig how warm it makes everything.
Your kit lens (the one that came with your camera) is probably the only lens you will need if you are just taking up photography as a hobby. If you are ever looking to expand your lens collection, I can’t recommend a 50mm enough. It is the lens I use 90 % of the time, and they are inexpensive; you get an aperture of f/1.8 or lower as most kit lenses only go as low as f/3.5-4.5. If you are more into action or nature photography, I could see where a telephoto zoom lens would be a priority to you.
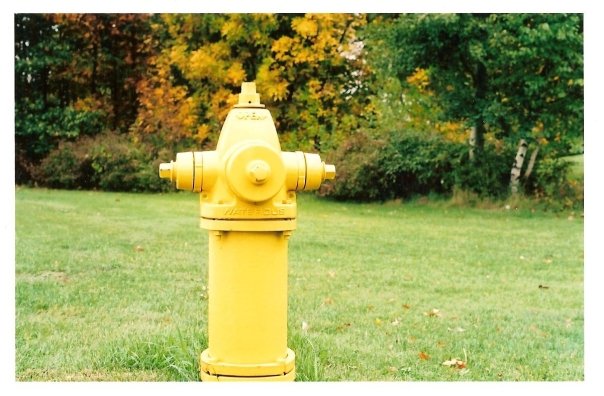
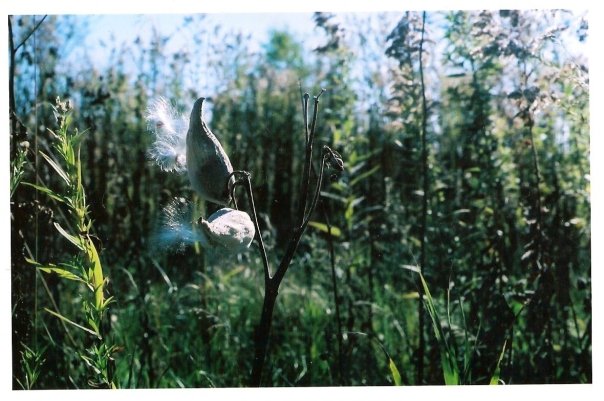
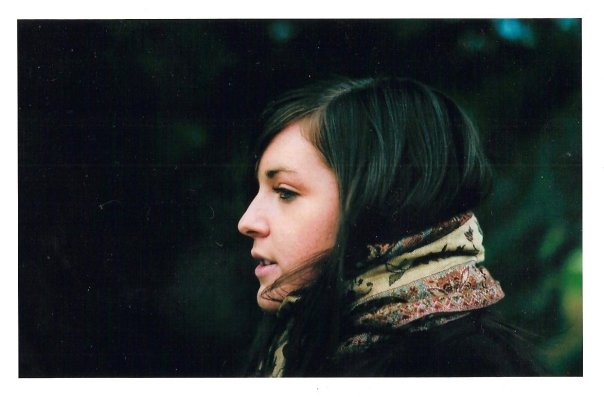
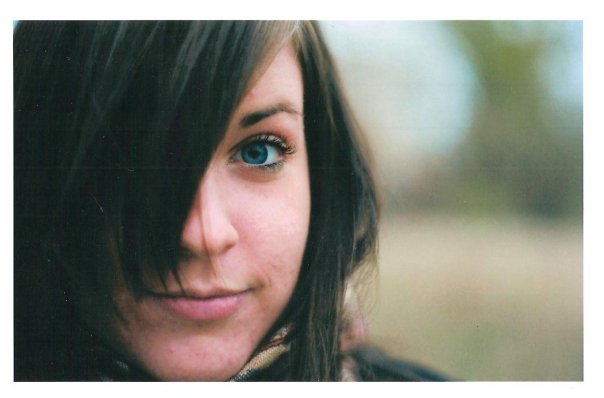
Practice with still objects, and then practice with people and animals.
As you start shooting manual, please remember to be patient with yourself. Once you get the hang of it, it will be second nature to you and you’ll get better as you get out there and take pictures. This is super lame, but imagine Dory from finding Nemo wearing a camera singing “Just keep shooting!”
….sorry about that
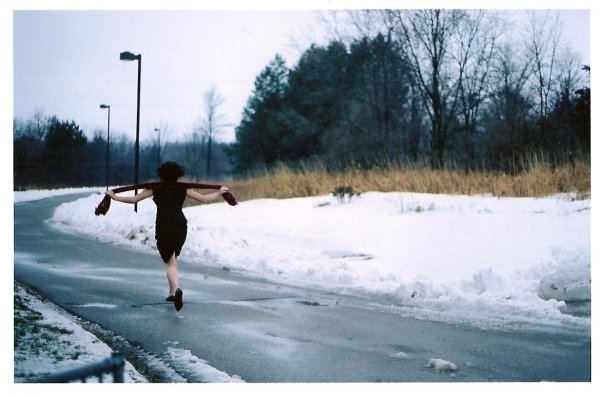
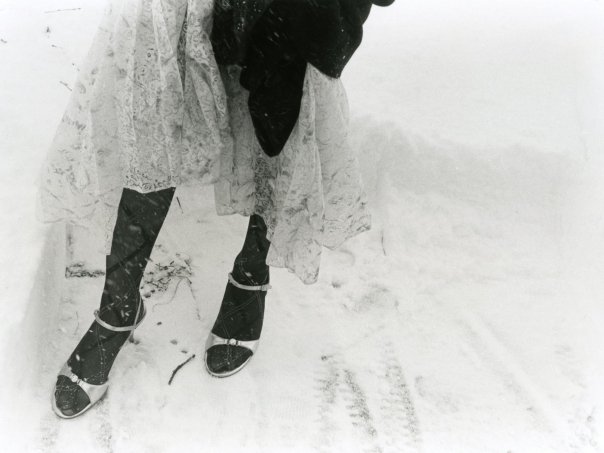
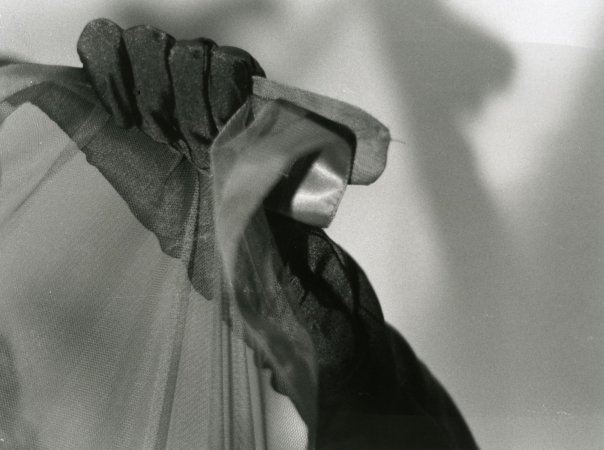
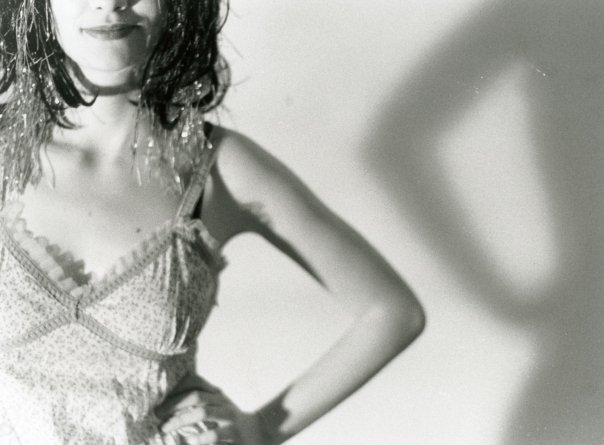
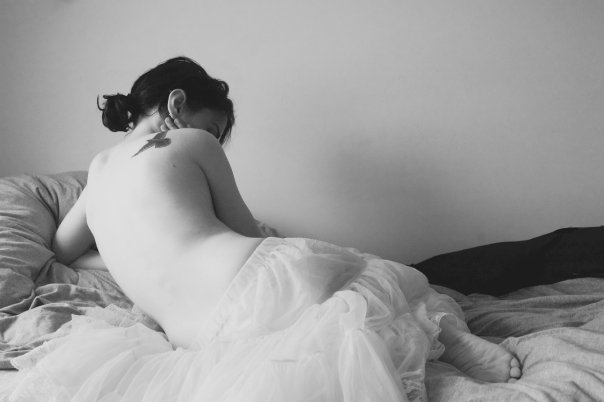
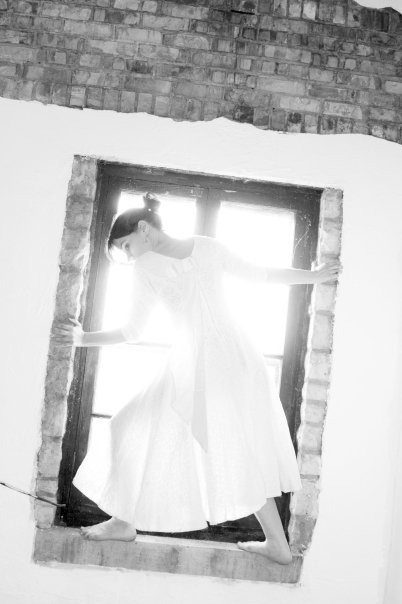
I’ve included some of my first photos below here. Feel free to giggle. Also, tag any of your photos with #UNICORNPHOTOACADEMY to share your images as you learn!
Sincerely,
The Girl in the Unicorn Pajamas